


If you have ever felt that your wireless headphones sound good but not great, the reason is often hidden in your Bluetooth audio codec. Android phones support multiple codecs, but not all of them deliver the same sound quality.
This is where aptX comes in. Enabling it correctly can make music feel clearer, richer, and more natural, especially if you enjoy high quality streaming or detailed tracks.
In this guide, we will walk you through how to enable aptX on Android in a simple and practical way, without unnecessary confusion.
What is aptX and Why Does it Matter?
aptX is a Bluetooth audio codec developed to transmit sound at a higher quality compared to the basic SBC codec. It reduces compression loss and keeps audio closer to the original recording.
When aptX is active, you often notice better clarity in vocals, cleaner instruments, and improved sync while watching videos or gaming. This makes it popular among music lovers and everyday listeners alike.
However, aptX only works when both your Android phone and your headphones support it, which is something many users overlook.
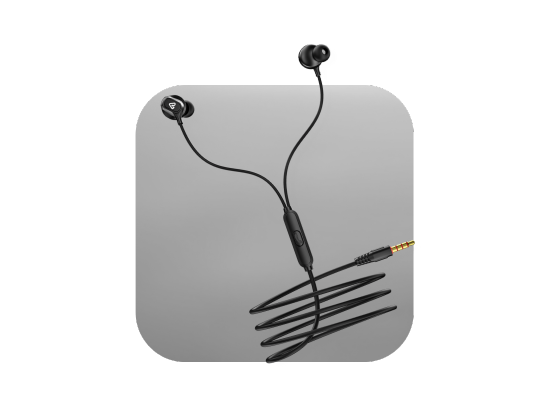
Buy wired earphones under 500 today and feel the difference in high quality sound design and comfort made to suit your everyday listening needs easily.
Things to Check Before Enabling aptX
Before changing any settings, it is important to confirm compatibility. aptX does not magically activate on unsupported devices.
Make sure the following conditions are met:
- Your Android phone supports aptX, usually found on phones with Qualcomm Snapdragon processors
- Your headphones or earbuds explicitly mention aptX, aptX HD, or aptX Adaptive support
- Your phone is running Android 8 or higher for manual codec selection
If any one of these is missing, aptX will not appear as an option.
How to Enable aptX on Android Step-by-Step
Step 1: Pair Your Headphones
Start by pairing your aptX supported headphones or earbuds through Bluetooth settings. This must be done before accessing codec options.
Once connected, keep the headphones turned on and within range.
Step 2: Unlock Developer Options
Head to your phone’s Settings, open About Phone or Software Information, and tap the Build Number seven times in quick succession.
You will see a message confirming that Developer Options are now enabled on your device.
Step 3: Access Bluetooth Audio Codec Settings
Return to the main Settings menu and open Developer Options. Scroll until you find the Bluetooth Audio Codec section.
Tap on it and select aptX, aptX HD, or aptX Adaptive, depending on what your phone and headphones support.
This process is the core of activating aptX on Android manually.
Shop wireless neckbands and enjoy hands free convenience powerful sound and flexible design that enhances your audio experience during work or leisure time.
Does Android Automatically Select aptX
In many modern Android phones, aptX is selected automatically when a compatible device is connected. You may not need to change anything at all.
Android often switches between codecs based on signal strength, battery usage, and activity like calls or music playback. This is normal behavior.
If you want full control, manual selection through Developer Options is still the best way to confirm enabling aptX on Android.
Common Issues and How To Fix Them
Sometimes, aptX does not show up even when everything seems right. This can happen due to software limitations or brand specific restrictions.
Try these quick fixes:
- Disconnect and reconnect your headphones
- Turn Bluetooth off and on again
- Disable other codecs like AAC if available
- Restart your phone after selecting the codec
If aptX still does not appear, your phone may not support it at the system level.
Shop true wireless earbuds with instant pairing lightweight design and powerful bass that make them your go to choice for music and lifestyle use.
aptX Variants You Might See On Android
Not all aptX versions are the same, and Android may show different options depending on your hardware.
- aptX focuses on balanced sound and stability
- aptX HD offers higher resolution audio for supported content
- aptX Adaptive adjusts quality and latency dynamically
Your phone will only display what both devices can handle.
Conclusion
Learning how to enable aptX on Android can significantly improve your wireless listening experience without buying new gear. It is a small setting change that often delivers noticeable results.
As long as your phone and headphones support it, aptX helps you get cleaner sound, better detail, and smoother performance across music, videos, and calls.
Take a moment to check your settings, and let your headphones perform at their best.
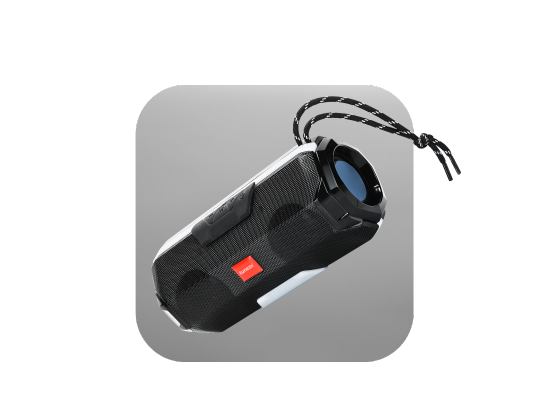
Buy Bluetooth speakers offering stylish designs booming sound and powerful battery life for an upgraded music experience that never disappoints.
FAQs About Enabling aptX on Android
1. What is the easiest way to check if aptX is active on Android?
You can check the active codec inside Developer Options while your headphones are connected and playing audio.
2. Does enabling aptX on Android improve call quality, too?
aptX mainly improves music and media playback, while calls often switch to lower latency voice codecs.
3. Can I activate aptX on Android with any Bluetooth headphones?
No, both the phone and the headphones must support aptX for it to work properly.
4. Why does aptX switch back to SBC automatically sometimes?
Android may switch codecs due to signal strength, battery optimization, or connection stability.
5. Is enabling aptX on Android safe for battery life?
aptX is designed to be efficient and usually has minimal impact on battery performance.